Tennyson's physical therapist mentioned making one. She had seen something on pinterest that showed how to make a dog bed, but it was essentially the same idea. I didn't bother trying to find that tutorial, since it sounded pretty straight forward.
I'm happy with how it turned out! It's the size I wanted, it's super soft, and I can wash it if I need to. Tennyson will fit perfectly on it.
Would you like to make one of your own?
Here's what you'll need:
2 bags of beans - $11.49 each
1 1/2 yards of fleece fabric (top layer) - $8.16
1 1/2 yards of fleece fabric (bottom layer) - $7.41
Zippered twin mattress cover - $7.97
Sharp scissors (I already had these)
Total cost: $46.52

First, lay out one layer of fabric:

This is where you might think I'm a little crazy...I needed a circle template, so I used a small table we had in our kitchen.

I used my hand as a guide, because I wanted a very large bean bag.

Keep cutting until you have a circle.

Next, lay your second fabric down and place the circle on top.

Then, use your top layer as the template and cut around it.

Now, your fabric should look like this:

Next, open your zippered mattress cover and poor the beans into it.

Spill the beans all over the place.

Poor both bags of beans into the zippered mattress cover and zip it up. You're not going to fill the mattress cover up with just 2 bags of beans, so there will be a lot of extra mattress cover...just wad it up and shove it on top. You won't be able to tell once it's inside the beanbag.

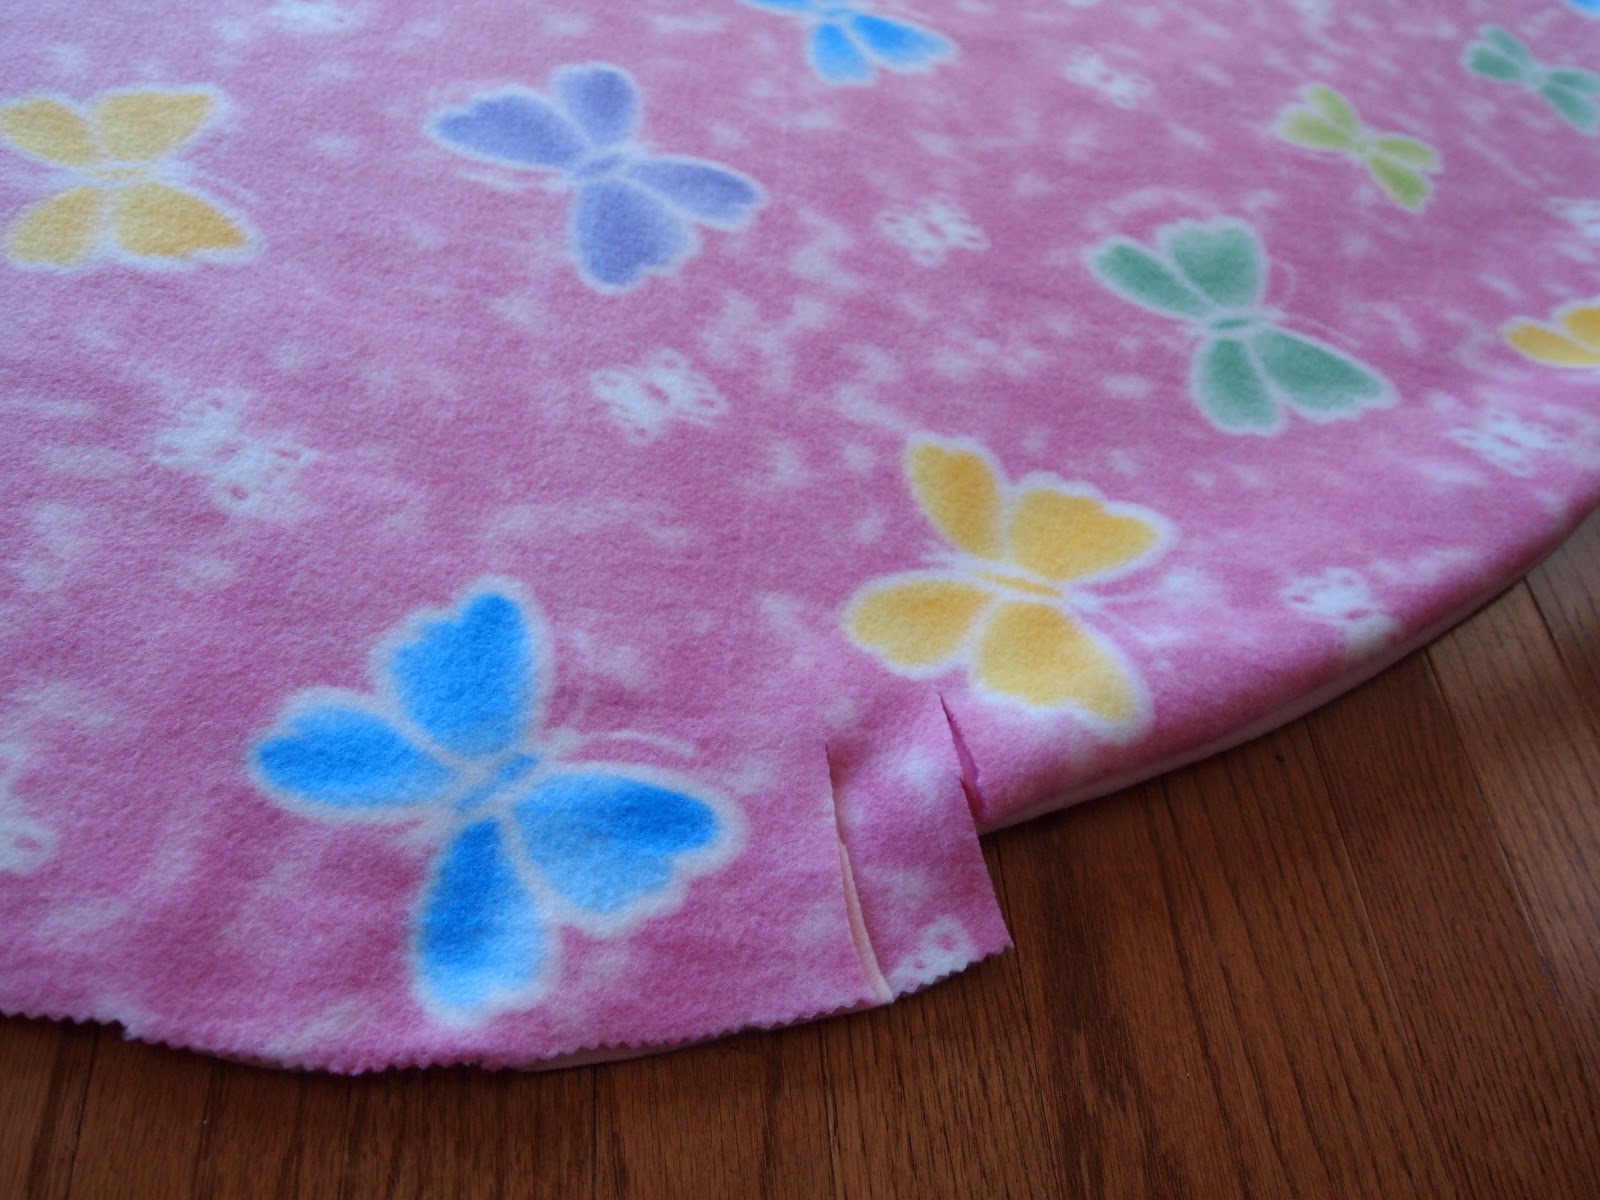
If you aren't going to sew your seams shut, you're going to make cuts like this around the entire blanket.

If you are going to sew your seams closed, make sure you face the right sides (printed sides) of your fabric together before you pin them in place. My fabric was the same on both sides, so it didn't matter which sides showed.

Pin 3/4 of the way around your fabric, leaving an opening to put the beans inside the bag.

Sew a simple seam along the edge.

I doubled up my seam, because I hate having to go back and repair holes in things I make. It's such a pain.

Now you have your sewn circle with an opening.

Turn it inside out. Now you don't see those exposed edges.

Go to the part of your circle you didn't sew closed.
Make cuts like this all along the edge.

Stuff your beans in the bag.

Now it looks like this:

Tie them together...you're almost done!

Now you have a giant bean bag!

So, I realize it does resemble a dog bed, but it won't when sweet Tennyson is laying on it.
If it needs to be washed, I can just untie a few of the bows and pull the bag of beans out.
Also, I'm hoping Tennyson won't have to be out of school the entire time she is in casts. Her doctors mentioned putting her in a wagon padded with pillows when she goes back to school. This might be able to pad her wagon and prop her up if she feels up to going.
Let me know if you have any questions!
{Update: After using the bean bag, there are definitely some changes I would make: 1) Spend the extra couple of dollars on the fabric mattress cover. Ours ripped and I was left with a GIANT mess of beans to clean up. 2) If you can put a zipper on - do it! The combination of the torn plastic mattress cover and the holes in between the ties was messy. All the spilled beans made their way out of every possible hole. I'm still finding beans in my living room, even after I swear I've found every single one of them.}
Amy
awesome idea hope it works for her
ReplyDeleteOh I love sewing too! That is a great tip with the bows! I also thought a zipper might work? Hope it works well and good luck with the surgery x
ReplyDeleteSome guy that runs a foam bead company stole this post from you and posted it on his blog. He did it to someone else too and he was very rude and is refusing to take it down. You may want to email him to take it down and then notify google of it. http://polystyrenefoambeanbagbeans.com/quick-and-easy-bean-bag-made-with-virgin-eps-beads/
ReplyDeleteGreat tutorial!
ReplyDeleteThis comment has been removed by a blog administrator.
ReplyDeleteThis comment has been removed by a blog administrator.
ReplyDelete